After I packed up my enameling supplies two weeks ago, I decided to try a few more polymer-clay-with-crackle-paint pieces. Instead of following tried and true methods, I thoughts I’d bake the clay first and then add the crackle paint. Sad, sad … Once dry, it flaked off at the slightest touch.
Instead of throwing the pieces away I sanded them and decided that a base coat of an acrylic medium might be the right next step. Of course I’d sanded almost all of the pieces when I realized that I should have taken some photos. (Taking time to take photos is a constant battle, that’s for sure. But, I tried my best with this project.)
Here’s one of the flaking Kroma Crackle. You can see how it lifts at at the edges.
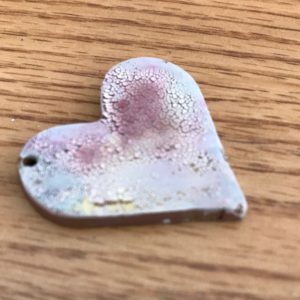
After I decided to try a coat of an acrylic medium as a base, I read that someone else suggested as much to someone who’d found herself in the same situation. Better yet would be applying the paint before baking clay.
My plan worked. Now, you can share in the fun of watching paint dry.
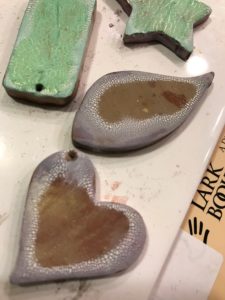
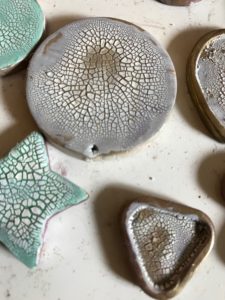
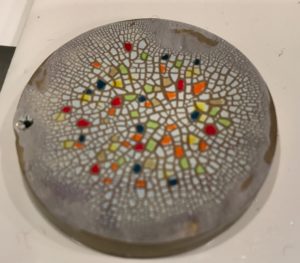
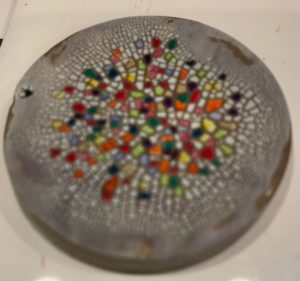
Here are the pieces after the Kroma Crackle paint finally dried.
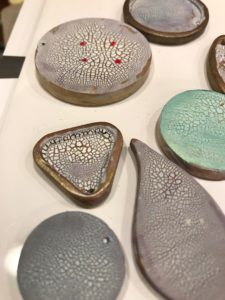
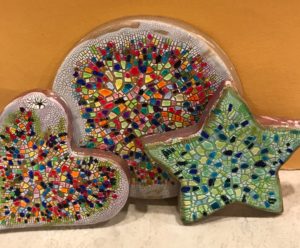
I took some alcohol ink pens to the individual crackles/”paint islands,” and the effect is that of a tiny mosaic. I love this look. I’d like to try some more and paint in the crackles to make it look like a paisley or heart or boat or peace sign or flower or anything else that one would make with a mosaic. Plus, I need to add some color to the edge and then seal the top with resin.
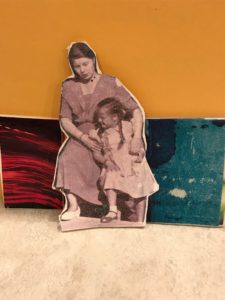
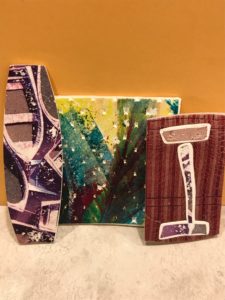
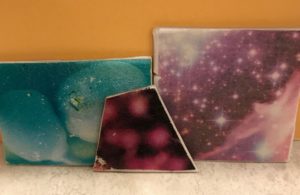
The good news is that I have a bunch of clay conditioned and at the ready. I took my first class at Danaca Design yesterday. There were only three of us. And the other two students and the instructor all have a background in metalsmithing. We learned about doing image transfers onto polymer clay. I’ve done some transfers with toner copies before, but in class time we primarily used Lazertran sheets. My brain is full of ideas, and I’m eager to start playing. However, the first step is to print out some images on Lazertran sheets.
There’s just never enough time for play, is there?
One week from now I’ll be done with the first day of the market. Crazy. It’s difficult to believe. Plus, nephew # 2 will be here. Who knows what kind of adventures we’ll get up to. Time to get back to it, while the getting to it is good.
